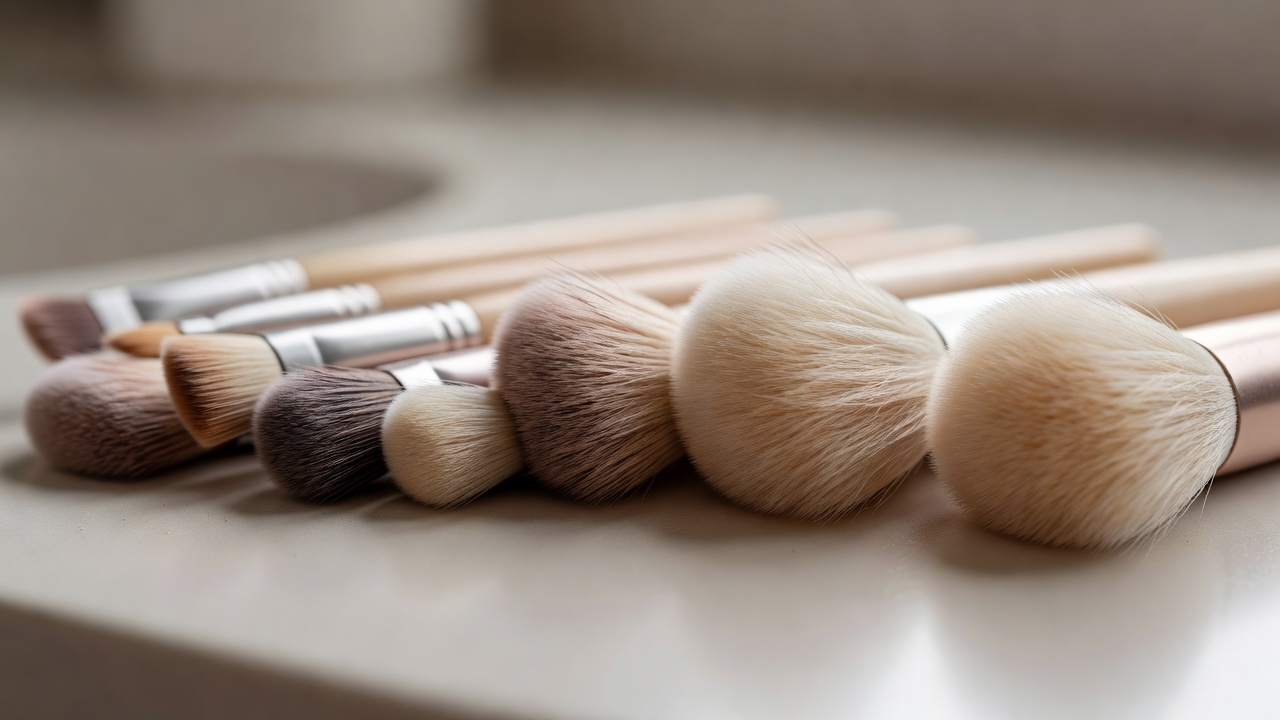
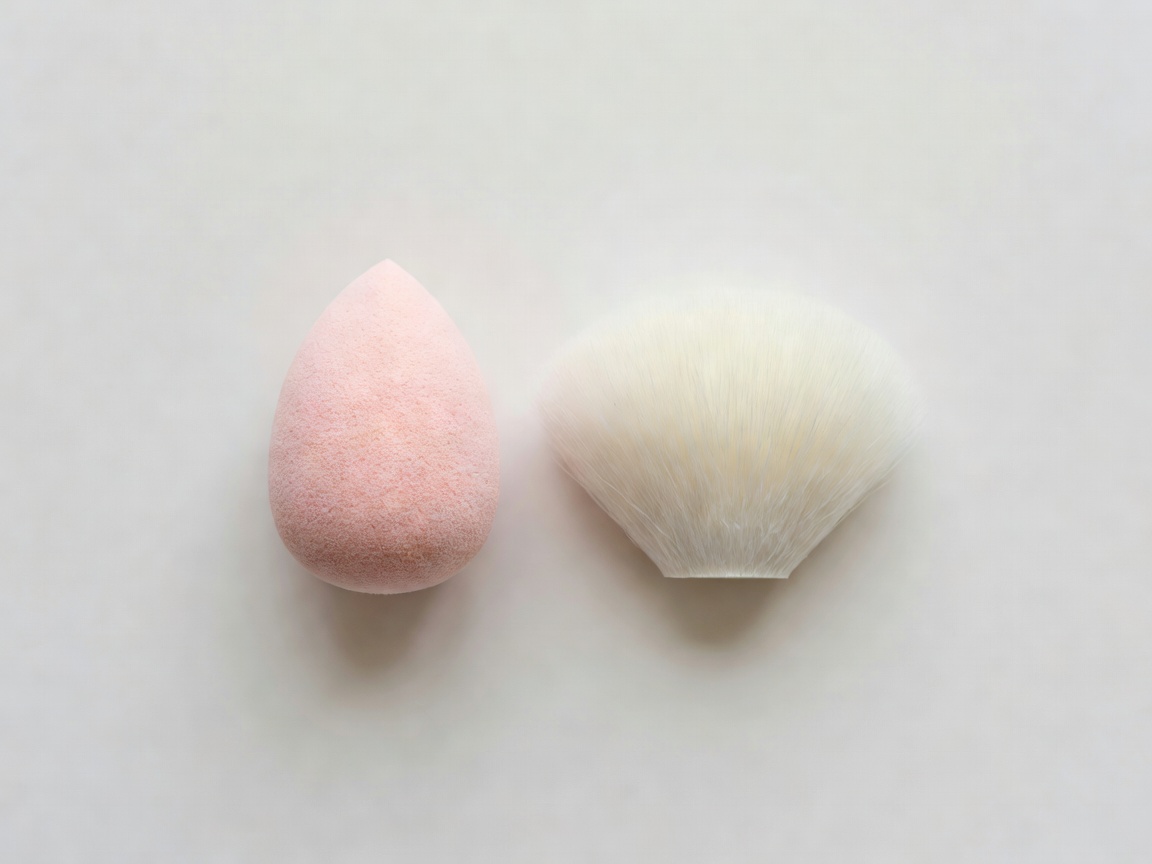
The same foundation can look sheer, satin or full-coverage depending on what lays it down. Here's how fibres, shapes and motions change a visible result.
01
Fibre first
Brush bristles are either natural hair or synthetic filaments, commonly nylon or taklon-style polyester. The difference is practical. Natural hair has a microscopic cuticle that picks up and diffuses powder well. Synthetic fibres are smoother and less absorbent, so they tend to work cleanly with liquids and creams and are easier to wash. Many modern synthetic brushes are engineered to handle powders too, which is why "synthetic" no longer signals lower quality.
If animal-derived materials matter to you, look for brushes labelled as synthetic or vegan. Certification schemes such as Leaping Bunny relate to animal testing policies of a company rather than to brush fibres, so read labels carefully.
02
Shape decides the edge
Dense, flat-top or kabuki
Packs product and buffs it in. Good for building coverage with liquids and pressed powders. Edges stay soft if you move in small circles.
Fluffy, loosely packed
Picks up less and spreads wider. Ideal for blush, bronzer and setting powder when you want diffusion and a forgiving finish.
Duo-fibre / stippling
Two fibre lengths deposit a thin, airbrushed layer. Tap rather than sweep; useful for sheer bases and cream blush.
Small, firm, angled
Precision for brows, liner and concealer edges. Control comes from short strokes and a steadied hand.
03
Sponges and fingertips
A makeup sponge is usually used damp. Water fills the pores of the foam, so it absorbs less product and presses a thin layer onto skin. The motion is a bounce or press, not a drag. The result tends to look sheer and skin-like, and the sponge can soften edges left by a brush.
Fingertips are underrated. Their warmth helps creams and balms melt and blend, which is why many artists apply cream blush, lip balm and metallic eyeshadow with a ring finger. Fingers deposit more product than a damp sponge, so start with less. Clean hands are essential; more on that in our hygiene guide.
04
A sequential tool diagram
This is a general order, not a rule. It follows the principle of layering liquids and creams before powders.
BaseLiquid or cream base, buffed with a dense brush or pressed with a damp sponge.
CorrectConcealer placed with a small brush, edges tapped with a fingertip.
Colour creamsCream blush or bronzer, stippled or warmed in with fingers.
SetLight powder through the centre with a fluffy brush, only where needed.
Powder colourPowder blush, contour or eyeshadow on top, diffused.
DefineBrows, liner, mascara with precision tools.
LipsLiner, then colour; blot if you want a softer stain.
05
Technique panels: small motions, big differences
Buff vs sweep
Buffing in small circles pushes product into a thin, even layer. Sweeping moves it across the surface and leaves a more visible deposit. Use buffing for base, sweeping for bronzer and highlight placement.
Press vs pat
Pressing with a sponge lays product down evenly. Patting with a fingertip adds intensity in one spot, ideal for a metallic centre on the eyelid or a concentrated highlight.
Tap off the excess
Tapping a loaded brush on the back of your hand removes loose powder before it hits skin. This one habit prevents most "too much blush" moments.
Professional artists such as Bobbi Brown and Pat McGrath built influential careers partly by teaching technique in public, and many of their methods emphasise building gradually. The common thread across schools of thought: apply less than you think, check in natural light, and add.
Tool performance depends on the specific product and your skin. We describe typical behaviour, not tested outcomes.